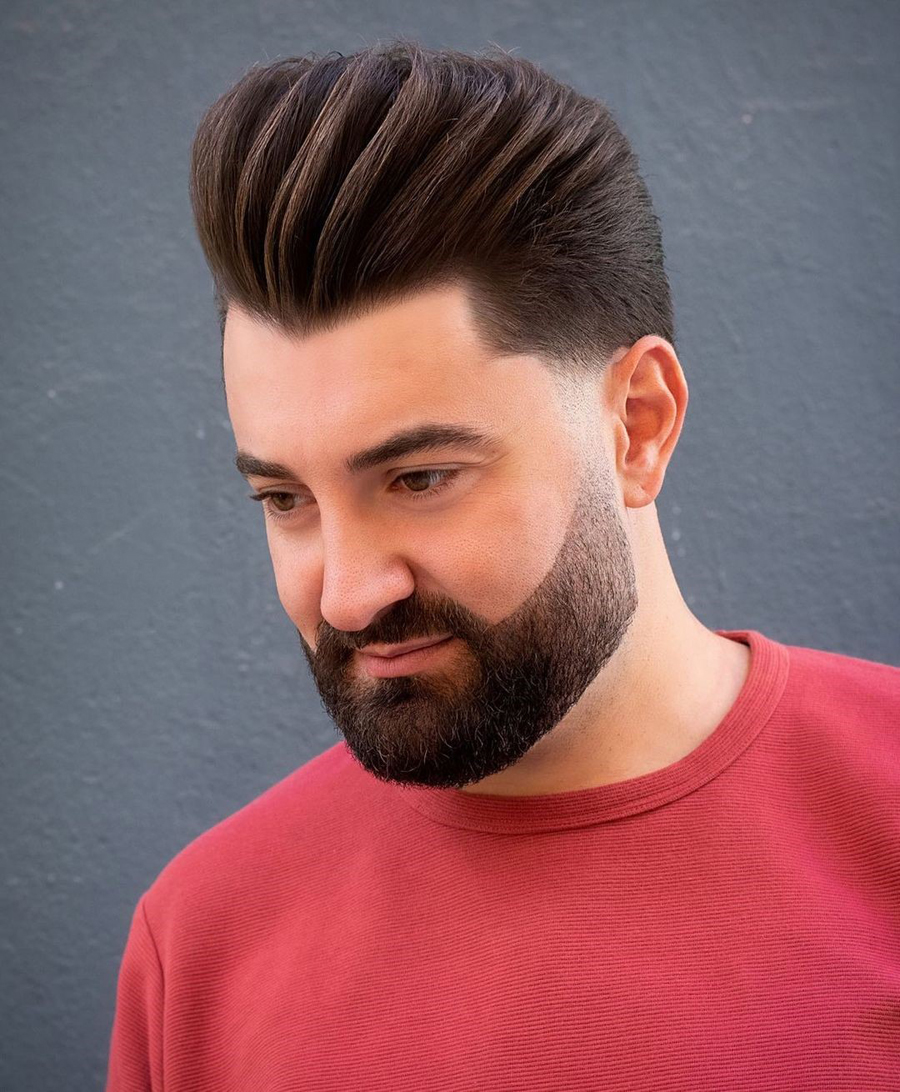
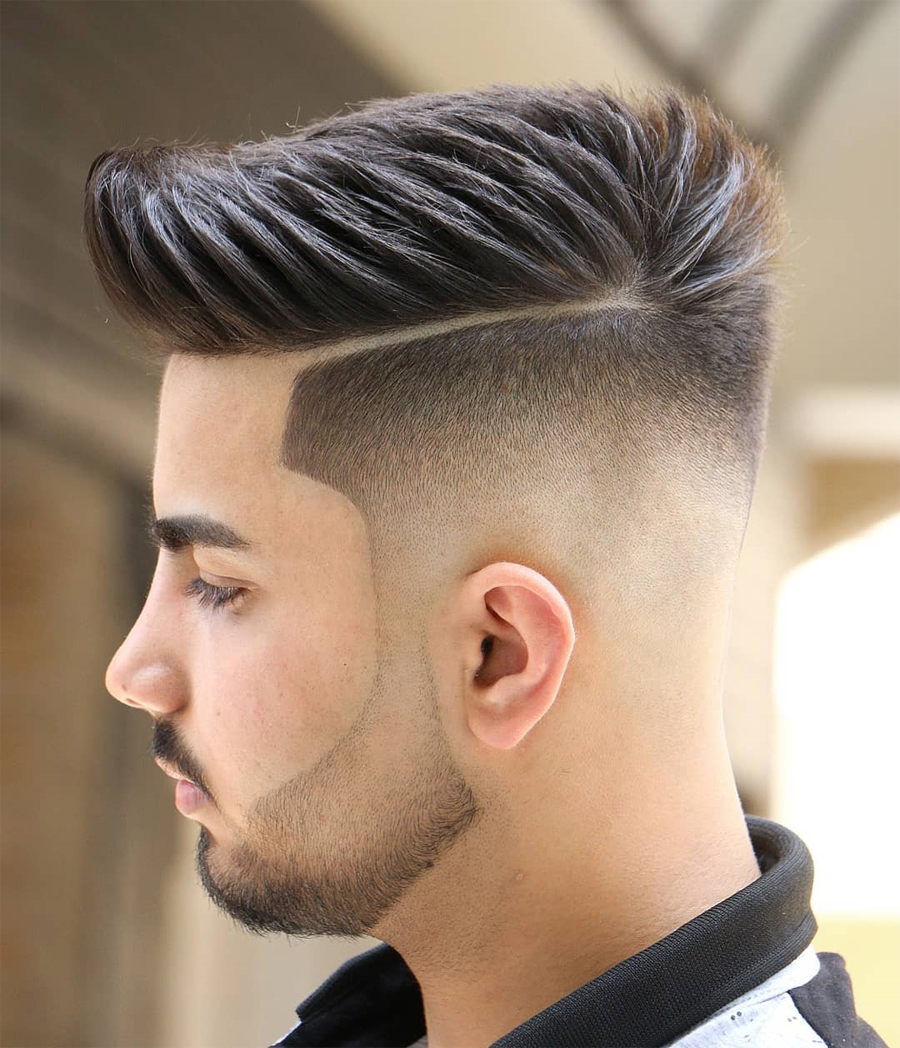
 Getting mens haircuts looks easy when the barber does it until the roles are reversed, and you do not know where to start. Most people cannot DIY on the haircuts, so they rely on their family and friends to help them achieve that cut at home. This way, you don’t have to go to the barbershop, and you can save that extra cash you would have spent on labor. However, getting someone who can give you a perfect trim is challenging. They need to train by looking at what the barber is doing or watching some YouTube tutorials to familiarize themselves with the tools.
Besides being present when the barber is giving a haircut, your friend, partner, or sibling can also follow how-to steps on styling mens haircuts. The instructions are easy to follow, and they also have pictures to make work easier for you. With the proper practice, you will find yourself doing it for only five minutes. Get the right tools like clippers, scissors, and a comb. Ensure you also have sectioning clips so that you work with sections. Here are the steps to follow:
1. Section The Hair
This is the firsts step to styling men’s hairstyles if you want to get it right from the start. Use the clips to section the hair into small portions. Working on the entire head can be overwhelming. This also helps you differentiate the longest sides of the hair. According to MensHaircuts, you can section the hair from the top to the back of the head. However, this depends on the men’s haircut you are styling. Sometimes, you may need to section from the top to the sides.
2. Get The Right Clippers Length
The clippers you select should be influenced by the hair length you want to achieve. Once you get the right clipper length, use a longer attachment to prevent your mistakes from interfering with the entire hair. The standard size of clippers is #3 and #4.
3. Cut The Sides
Always start a cut from the bottom upwards, even when shaving the sides. Another tip is to always start with the front part of the head backward. Lay the clippers flush against the head at the front ear and move in an upward motion.
Once you get to the end of the area you are trimming, raise your wrist. Do this repeatedly until you get the right hair length and make all the head parts even. Do the same to the sides of the head, cutting the hair towards the middle. Also, ensure you always cut the hair in an opposite direction from how it grows.
4. Create A Fade
Most men’s haircuts are characterized by a fade, and that is for a good reason. You do not want to have visible transition cuts, so you should create a fade. Make a fade on the sides and back of the head. Go for shorter clippers. If you used #3, go for #2 when creating the fades. Start from the front of the head backward, following the opposite direction of the hair growth.
5. Blend The Top
Once the sides are in the perfect hair size you wanted, remove the sectioning clips. Wet the hair at the top of the head slightly. Use scissors to trim the longer middle hair. You can use a comb to help you achieve an even length.
6. Go To The Crown
The crown of the head has the most hair. Trim it to the desired length but remember that this is the most visible part of the head, so you should be extra careful. Be careful with the clippers you use because a simple mistake could make you go bald within minutes. Use scissors to get the perfect length and to ensure the hair is evenly cut.
7. Cut The Front
Finish up your haircut by trimming the front. Use a pointcut to cut the front part of the hair. The pointcut pulls the hair backward, and this ensures some length is maintained. Don’t make the hair too short when you are doing the cut at home. This will enable you to reduce the size at the end of the cut if you are not happy with it.
8. Tips on How to Trim Around the Ears and Neck
These two parts are tricky for inexperienced people, and not being keen on the clippers can completely tamper with the style you want to achieve. If you want to reduce the length around the ears and near the neck, you should use clippers with an eight or one-inch guard to cut hair on the entire head first.
However, this only works for those who want short hair. Also, avoid using clippers with lower settings on the area of the head where it starts to round towards the top. A small mistake at that point will ultimately damage your style, and it’ll be hard to fix. When shaving the sides, start with a high number guard and shave the hair downwards. This way, you can rarely take off too much length.
If you start with the number eight clippers and it doesn’t take the hair down, choose number seven. However, don’t go down until number-two clippers because the hair will be too short. Having longer hair that needs a better cut is better than waiting for one bald part of your head to grow hair.
9. Get Styling Products
Experiment with styling products once the DIY hair cut is done and looks exactly or close to how you wanted it to look. The products you buy depend on the length of your hair, texture, and style you want to achieve. You can start with hair gel for holding the style up all day. Other creams are used when you want to achieve puffiness or curls.

