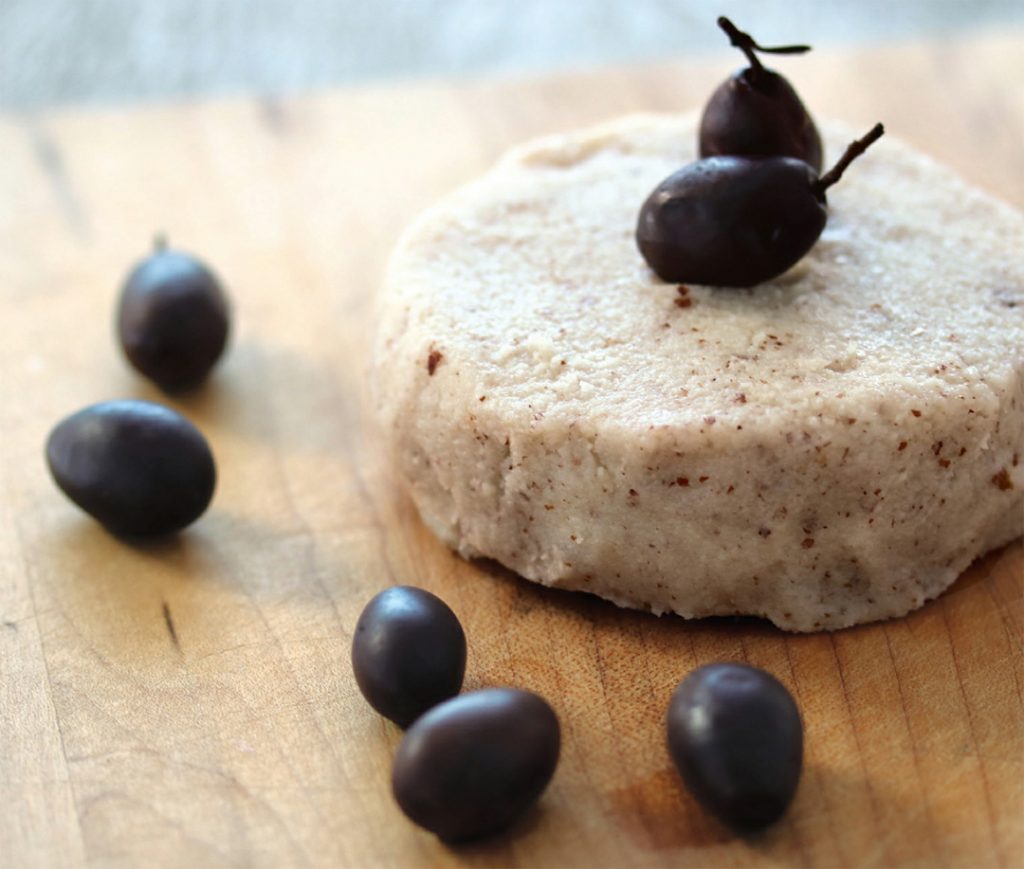
 I call this “farmer’s cheese” because it is made using the same type of process as traditional dairy-based farmer’s cheese, except that I use almond milk instead of cow’s milk. I heat the milk and add an acidifying agent (in this case I’ve used vinegar), which separates the curds from the whey, and then I further strain it to form a block of cheese. This cheese can be air-dried or not, depending on your preference. You can add herbs or other flavor additions to suit your palate. I love minced fresh basil or thyme in my cheese, but you can select any herbs you prefer. But even without aging or herbs, this cheese is simple and delightful. You can spread it on toast; eat it with fruit, crackers, nuts, or vegetable crudités; serve it with olives or antipasto; or enjoy it with a little fruit jam or coulis (a fruit sauce) as a dessert.
This cheese and other cheeses made in this manner usually don’t have any probiotics unless they are added after the milk has cooled and the cheese has been set. Typically, most aged cheeses are inoculated with yeasts or molds at that point but not always ones that are health promoting. You can age this cheese if you’d like to, although traditionally farmer’s cheeses or soft cheeses like this are not aged (i.e., not fermented) and do not contain any probiotics. To age this cheese, follow the instructions outlined in the sidebar “Aging Your Cheeses to Perfection” after you’ve completed the recipe here.
Ingredients
- 1 quart/liter unsweetened almond milk (original flavor, no flavoring added)
- 1 tablespoon store-bought or homemade apple cider vinegar
- Fresh herbs, minced (optional)
- 1 teaspoon unrefined sea salt
- In a medium pot, heat the milk over low heat, stirring occasionally to prevent scalding or sticking. When it looks like the almond milk is just about to boil, remove from the heat; if you prefer to use a candy or canning thermometer (it’s not necessary), remove the pot from the stove when the milk reaches 180 to 190ºF.
- Add the vinegar, stir gently for a few seconds, and then leave it undisturbed for a few minutes. The curds (the solid parts) and whey (the clearish, yellowish fluid) will begin to form and separate.
- While the vinegar is working, line a colander with cheesecloth. Once the curds and whey have separated, pour them through it over a sink if you want to discard the whey or over a large bowl if you prefer to keep the whey for later use.
- Fold the excess cheesecloth over the curds, and place a clean weight on top; allow it to sit for one to two hours to press out any remaining whey. Alternatively, simply tie up the corners of the cheesecloth, and allow the curds to sit for one to two hours to continue draining.
- If using herbs, add them to the cheese after straining and prior to setting up the cheese in a mold. Alternatively, you can line the bottom of the mold with your desired herbs.
- Stir in the salt until it is well combined with the cheese, and place the cheese in a mold or small glass or ceramic bowl and allow to set in the fridge for four to six hours. Serve immediately or store in a covered dish in the refrigerator for up to one week.
